Custom Coin Design Guide: Create Unique Coins | Custom Coins
Discover how to create stunning custom coins with our comprehensive coin design guide. Explore various sizes, shapes, finishes, and colors to make your challenge, commemorative, or promotional coins truly unique and memorable.
DESIGN GUIDE
CreatePins
4/18/20253 min read
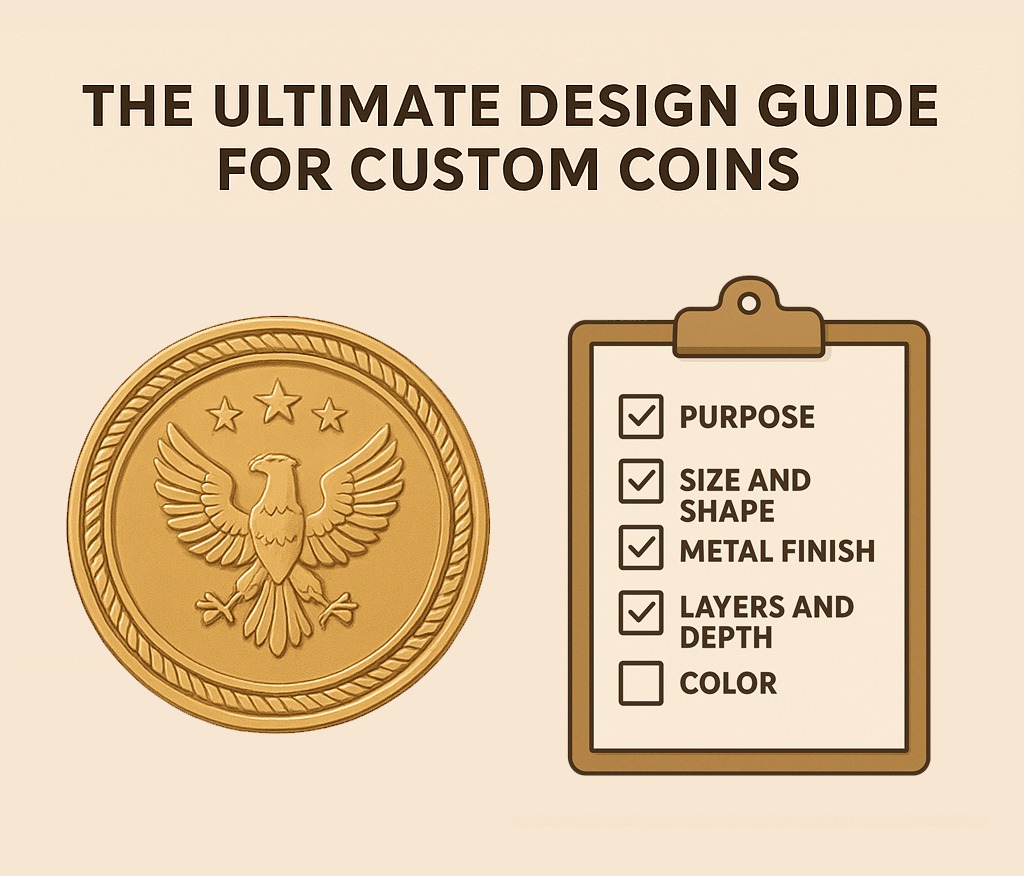
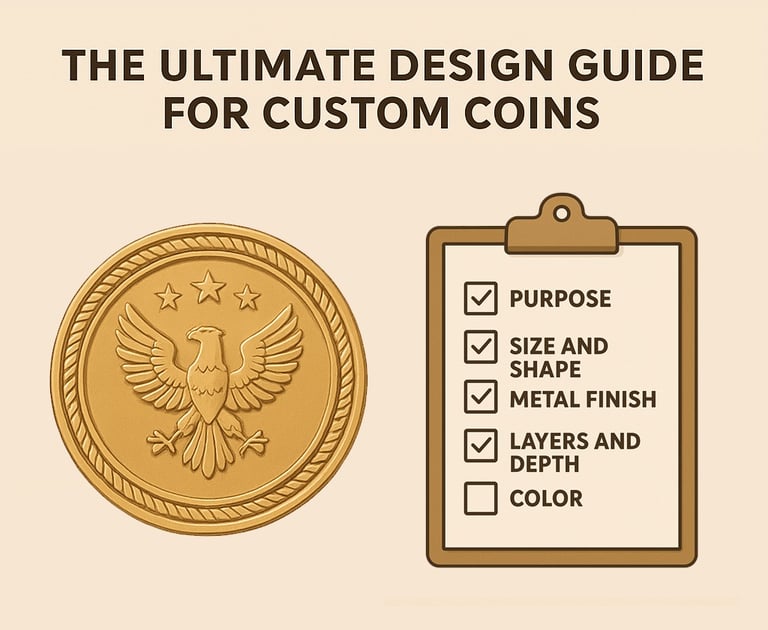
Custom coins are more than just collectible pieces — they represent memories, milestones, achievements, and identity. Whether you’re creating challenge coins for your team, commemorative coins for events, or promotional coins for branding, the design process is key to making your coin meaningful and professional.
This guide walks you through everything you need to know about designing custom coins, from initial concept to production.
1. Start with Purpose and Story
Before putting pen to paper, define why you’re creating the coin.
Challenge coins – for military units, police, firefighters, or corporate teams.
Commemorative coins – for anniversaries, graduations, or historical events.
Promotional coins – for businesses, brands, or special campaigns.
👉 Ask yourself: What message or story should this coin tell? The clearer your purpose, the stronger your design.
2. Choose the Right Size and Shape
Coins typically range from 1.5" to 3" in diameter.
1.5”–2”: Compact, great for carrying in pockets.
2”–2.5”: Balanced size for most challenge or commemorative coins.
3” and above: Best for display pieces or high-detail artwork.
You’re not limited to circles—custom coins can be square, hexagon, shield-shaped, or even fully custom-cut.
3. Decide on Metal Finish
The finish defines the look and feel of your coin:
Gold / Silver / Copper: Classic, timeless appeal.
Antique Finishes: Adds depth and vintage character.
Black Nickel: Sleek, modern, high-contrast.
Dual Plating: Combines two metals for a premium effect.
💡 Tip: Antique finishes enhance engraved details, while polished finishes shine best with minimalistic designs.
4. Design with Layers and Depth
Coins aren’t flat—they have raised and recessed areas.
Raised areas = outlines, text, or main design elements.
Recessed areas = background or filled with enamel color.
Consider how your artwork translates into metal relief. Simplify small details, as extremely thin lines or tiny text may not reproduce well.
5. Add Color Strategically
Enamel colors bring coins to life.
Soft Enamel: Colors sit lower than raised metal, creating a textured feel.
Hard Enamel: Colors are polished flat with the metal, smooth and durable.
No Color: All-metal designs can look powerful and elegant.
⚠️ Keep color counts minimal—most coins use 3–6 colors for the best balance of clarity and cost.
6. Don’t Forget the Edge
Edges make your coin stand out. Options include:
Standard Flat Edge
Reeded (like a quarter)
Rope or Wave Edge
Custom 3D Edge Patterns
7. Text and Typography
Coins often feature mottos, names, or dates.
Use bold, simple fonts for readability.
Avoid extremely thin or script fonts in small sizes.
Place text on the outer ring for a classic look.
8. 2D vs. 3D Artwork
2D Design: Flat with two levels of metal (raised and recessed). Best for logos, simple designs, and clean artwork.
3D Design: Sculpted depth and shading. Perfect for portraits, landscapes, and intricate details.
9. Reverse Side Design
Don’t forget the back! Options include:
Matching theme with front.
Simple logo or motto.
Sequential numbering (e.g., 001/500).
Custom engraving for personalization.
10. Practical Tips for a Smooth Design Process
Provide vector artwork (AI, EPS, SVG) when possible.
If using raster images (JPG, PNG), ensure high resolution.
Avoid overly complex gradients—coins work best with solid shapes and clean contrast.
Work with your manufacturer’s design team for mockups and revisions.
11. Inspiration Examples
Military Challenge Coin: Bold emblem, unit name, antique finish.
Corporate Coin: Company logo, mission statement, dual plating.
Event Coin: Date, location, vibrant enamel colors, commemorative edge text.
Designing a custom coin is a rewarding process that transforms your story or brand into a lasting keepsake. By focusing on purpose, size, finish, layers, and color, you can create a coin that is not only beautiful but also meaningful.
Whether you’re a first-time creator or a seasoned designer, keep this guide in hand to make the process easier—and don’t be afraid to lean on professional design teams to bring your vision to life.
👉 Next step: Ready to create your own coin? [Get a Free Quote Today!]
Copyright © 2026 Createpins.com owned by Raoin. All rights reserved. Custom Made with ❤️📧hello@createpins.com
Factory-Direct Enamel Pin Manufacturer
Trusted by Thousands of Creators
Custom enamel pins for artists and brands