Turning AI Art into Manufacturable Enamel Pins
A complete step-by-step guide for creators, artists, and merch brands who want to convert AI-generated artwork into real, high-quality custom enamel pins — ready for production.
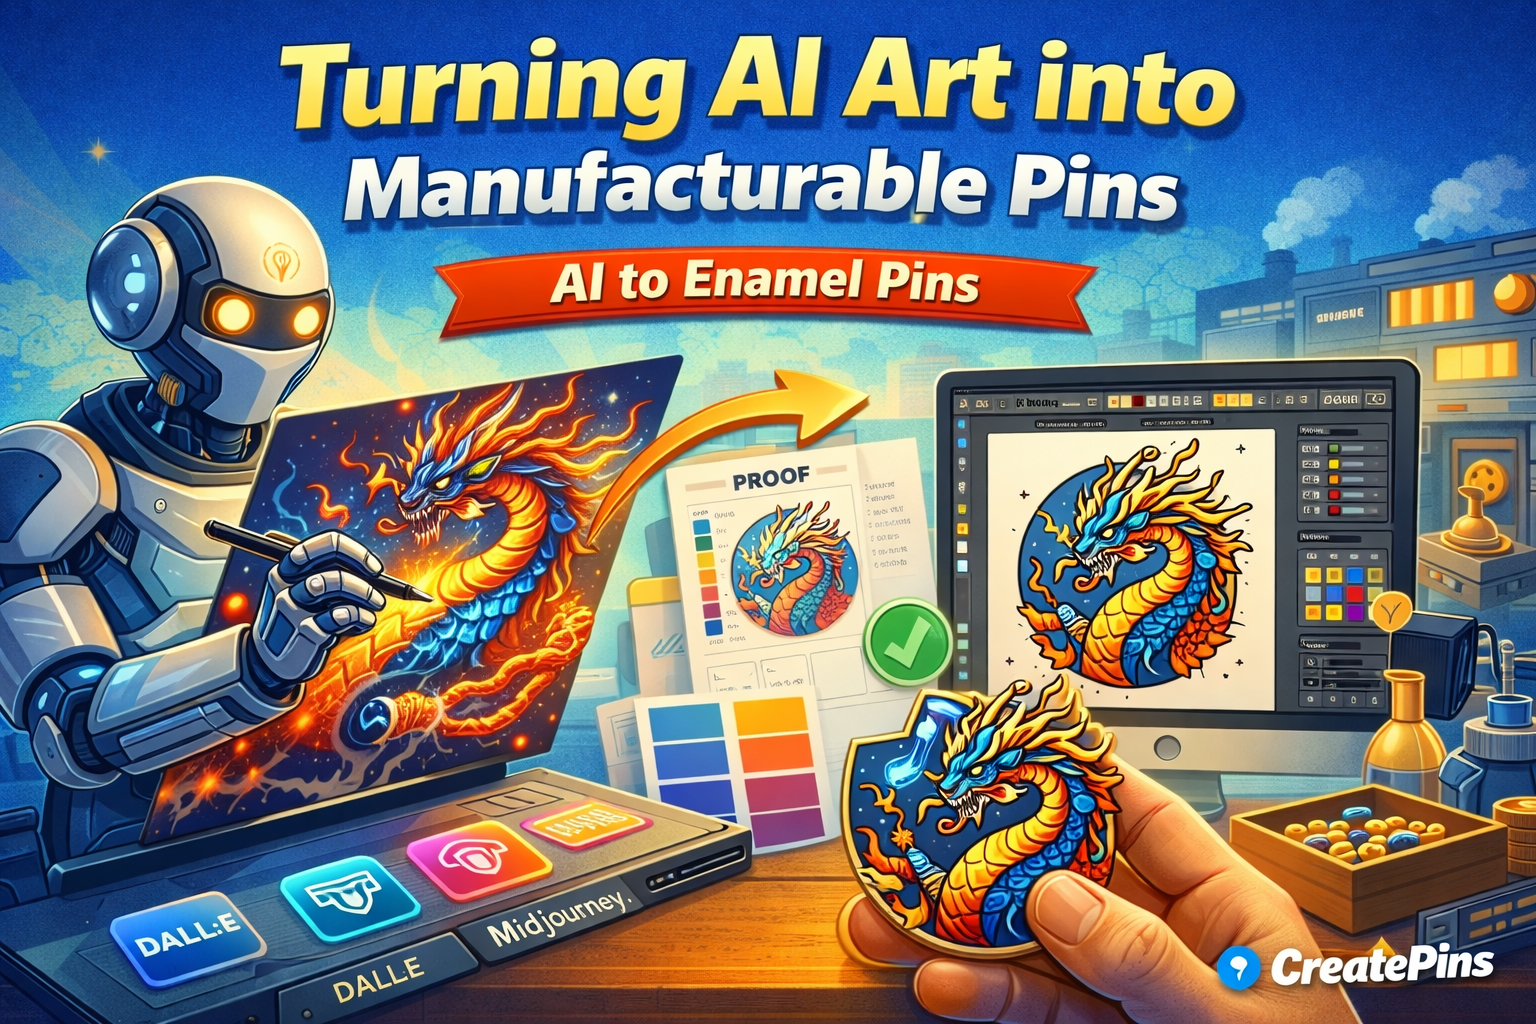
AI art tools have made it easier than ever to create unique, eye-catching visuals in minutes. Artists, game developers, indie brands, and merchandise creators are now using platforms like Midjourney, DALL·E, and Stable Diffusion to rapidly generate concepts for custom enamel pins.
However, while AI can produce visually striking artwork, most AI-generated images are not directly ready for manufacturing. Turning AI art into a real enamel pin requires careful preparation so the design works within the constraints of metal stamping, enamel fill, and production tolerances.
In this guide, we’ll explain exactly how to convert AI-generated artwork into manufacturable enamel pins — and how CreatePins.com helps creators make the transition from AI concept to physical product.
Why AI Art Needs Adjustment for Enamel Pins
AI image generators are trained to create visually complex imagery — rich gradients, photorealistic textures, soft lighting, and intricate detail. These qualities produce beautiful digital images, but they’re fundamentally incompatible with how enamel pins are physically manufactured.
Enamel pins are produced by stamping a metal base (usually iron, zinc alloy, or brass), then filling the recessed areas with enamel paint. The process depends on clearly defined metal dividing lines to contain each color. There is no way to reproduce gradients, soft shadows, or blurry edges using this method without additional techniques like screen printing.
Before production can begin, every AI design must be simplified into a clean, metal-line structure that a factory can reliably stamp and fill. Here’s a summary of the most common issues found in raw AI artwork:
| AI Design Feature | Why It’s Problematic | How to Fix It |
|---|---|---|
| Gradient shading | Enamel cannot blend colors | Replace with 2–3 flat solid tones |
| Blurry / soft edges | Metal lines require crisp definition | Redraw with clean vector outlines |
| Tiny intricate details | Lost when stamped at pin scale | Simplify or remove small elements |
| Very thin lines (<0.3mm) | May break or fail during stamping | Thicken all lines to minimum 0.3mm |
| Excessive color count | Increases cost and complexity | Consolidate to 4–8 colors |
| Raster PNG/JPG format | Cannot define manufacturing lines | Convert to vector (AI/EPS/SVG) |
| Small, fine text | Illegible at pin size | Use bold fonts or remove text |
| Photorealistic textures | Cannot be replicated in enamel | Stylize into flat graphic areas |
Understanding Enamel Pin Types
Before preparing your AI artwork, it helps to know which type of enamel pin you’re targeting. Each type has slightly different manufacturing requirements, and your design choices should reflect the finish you want.
Soft Enamel
Raised metal lines with recessed, textured enamel fill. The most popular and affordable option. Great for most AI art designs.
Hard Enamel
Polished flat surface — enamel is level with the metal lines. Premium feel. Slightly more expensive. Best for cleaner, simpler designs.
Die-Struck
Metal only — no enamel color fill. Uses recessed stamping to create designs. Perfect for a classic, vintage metal look.
Printed / Offset
Full-color printing on metal. Can reproduce gradients and complex AI imagery directly. Great for detailed designs that don’t translate to enamel.
Step 1 — Generate a Strong AI Concept
Use AI tools for creative exploration, not final production files
AI art tools are best used as a rapid ideation and concept-generation tool. At this stage, your goal is visual inspiration — not manufacturing precision. Don’t worry about whether the image looks “pin-ready” yet.
Popular AI platforms for generating pin concepts include:
- Midjourney — known for highly stylized, artistic outputs
- DALL·E (OpenAI) — great for concept clarity and iteration
- Stable Diffusion — open-source with extensive customization options
- Adobe Firefly — integrated with the Adobe Creative Suite for smooth handoff to Illustrator
Types of Designs That Work Well for Enamel Pins
When prompting your AI, aim for designs that already have natural simplicity. The following styles tend to translate best to enamel pins:
- Character or mascot pins (bold outlines, simple features)
- Fantasy creatures and monsters
- Gaming and pop culture references
- Logo-style or emblem designs
- Cute kawaii characters
- Botanical and nature motifs (stylized, not photorealistic)
- Retro and vintage badge designs
- Geometric and minimal abstract shapes
Prompting Tips for Pin-Friendly AI Art
You can guide AI tools to output more pin-friendly results by using targeted prompts:
- Include terms like “flat design”, “bold outlines”, “sticker art style”, or “vector illustration”
- Request “limited color palette” or “2–4 colors only”
- Ask for “white background” to isolate the subject
- Avoid prompts that encourage photorealism, gradients, or textures
- Specify “clean linework” or “cell shaded” for clearer outlines
Step 2 — Convert the AI Image into Vector Artwork
Vector artwork is the foundation of every manufacturable enamel pin
Most AI images are raster files (PNG or JPG) — made of pixels. Enamel pins require vector artwork where every line, shape, and color area is defined as a mathematical path. This allows the factory to precisely stamp the metal mold and separate color regions.
The most common vector formats used for pin production are:
- .AI (Adobe Illustrator) — the industry standard
- .EPS — widely compatible with most manufacturers
- .SVG — acceptable for some manufacturers
How to Convert AI Art to Vector
The conversion process typically involves a graphic designer manually redrawing the AI image in vector software. Common tools include:
- Adobe Illustrator — the gold standard for enamel pin vectorization
- CorelDRAW — popular alternative used by many manufacturers
- Inkscape — free and open-source vector editor
- Figma — useful for basic vector work
During the vectorization stage, a designer will:
- Redraw all shapes with clean, smooth outlines
- Simplify complex forms into readable silhouettes
- Remove unnecessary small details
- Separate distinct color areas into individual fills
- Ensure all lines meet minimum thickness requirements
Step 3 — Define Metal Lines
Metal lines are the backbone of every enamel pin design
In enamel pin manufacturing, metal dividing lines separate each color area. These lines are physically stamped into the metal base of the pin. Without clear, well-defined metal lines, enamel colors cannot be properly contained during the filling process.
Metal Line Guidelines
- Minimum line width: All metal lines should be at least 0.3mm wide. Thinner lines risk breaking during stamping or filling.
- Every color area must be enclosed: Each enamel color needs to be fully surrounded by metal lines to prevent color bleeding.
- No floating islands: Color areas that are not connected to the main outline cannot be supported structurally.
- Simplify complex paths: Intricate curves with too many anchor points may not stamp cleanly. Smooth paths work best.
- Minimum pin size consideration: At typical pin sizes (25–50mm), details smaller than 1–2mm may become invisible. Design with physical scale in mind.
Step 4 — Replace Gradients with Solid Colors
Enamel cannot blend — every color must be a flat, distinct fill
This is one of the most significant challenges when adapting AI artwork for enamel pins. AI generators often produce beautifully shaded images with smooth gradients, ambient occlusion, and complex lighting effects. These must all be converted into flat, solid color fills.
Techniques for Converting Gradients to Flat Colors
- Reduce to 2–3 tones per element: For example, a sky can become a light blue body + a darker blue for depth, separated by a metal line.
- Use color stepping: Replace smooth gradients with 2–3 defined “steps” of color, like a retro sunset effect.
- Use metal lines to suggest depth: Strategic placement of extra metal lines can create the illusion of shadow and dimension without needing gradient fill.
- Use hatching or stippling as overlays: For soft enamel pins, screen-printed dot patterns can simulate gradient effects at a small extra cost.
When to Use Screen Printing
If your AI design contains complex shading or fine color transitions that are essential to the concept, screen printing can be applied on top of the enamel base. This allows for:
- Gradient simulations using halftone dots
- Fine text and detail layered over enamel color areas
- Complex pattern overlays
- Photographic-style detail on a soft enamel base
Step 5 — Limit the Color Palette
Fewer colors = lower cost and sharper, cleaner pins
Each enamel color in a pin design requires a separate fill step in production. More colors mean more manufacturing passes, higher tooling complexity, and increased cost per unit. For most projects, keeping colors in the 4–8 range strikes the best balance between design richness and production efficiency.
Color Palette Best Practices
- Keep designs between 4–8 enamel colors for standard production
- Use clear visual separation between adjacent colors — very similar shades are hard to distinguish at pin scale
- Avoid tiny isolated color areas — if a color only appears in a 1mm spot, consider removing it
- Metal plating color (gold, silver, black nickel, antique brass etc.) can serve as a visual element in your design — use it intentionally
- Reference Pantone color codes when specifying colors to your manufacturer for consistency
Understanding Translucent / Glitter Enamel
Beyond standard opaque enamel, manufacturers can also use specialty enamel types to enhance your design:
- Translucent enamel — lets the metal show through for a jewel-like effect
- Glitter enamel — adds metallic sparkle flecks within the color fill
- Glow-in-the-dark enamel — absorbs light and glows in darkness
- Soft-touch enamel — matte rubberized surface feel
Step 6 — Review the Manufacturing Proof
Always review and approve your digital proof before production begins
Before any production takes place, your manufacturer will create a digital proof — a detailed rendering that shows exactly how your AI design will appear as a real enamel pin. This is your last chance to catch design issues before the mold is created.
What a Manufacturing Proof Includes
At CreatePins.com, every production proof includes:
- Pin dimensions and shape
- Metal line layout and outlines
- Plating color (gold, silver, black nickel, antique brass, rose gold, etc.)
- All enamel color areas with color callouts
- Backing type (butterfly clutch, rubber clutch, safety pin, etc.)
- Optional back stamp (your logo or text on the reverse)
- Any special finishes (glitter, glow, epoxy dome, etc.)
How to Review a Proof Effectively
- Check that all design elements are present and correctly positioned
- Verify that enamel colors match your intended palette (use Pantone references)
- Confirm that line weights look appropriate for the pin size
- Check text legibility if your design includes any lettering
- Look for any details that may appear too small or unclear at the chosen size
- Review plating color against the rest of the design
Step 7 — Optional Sampling for Large Orders
For larger projects, a physical sample confirms quality before bulk production
For creators who want the highest confidence before committing to a full production run, requesting a physical prototype sample allows you to hold the pin in your hands, check color accuracy, assess metal line quality, and evaluate overall craftsmanship.
Sampling at CreatePins — Key Details
- Sampling is typically available for orders of 500 pins or more per design
- Up to 3 sample pins may be produced for review
- Sampling may involve an additional cost if physical delivery is requested
- The sampling cost is deducted from your total bulk order amount
- Mold fees are not charged again when full production begins
- Shipping costs for sample delivery are not deducted from the order total
- Sampling typically adds 5–7 additional business days to the production timeline
Common AI Pin Design Mistakes to Avoid
Creators new to enamel pins — especially those coming from a digital-first AI workflow — often run into predictable issues. Here are the most common mistakes and how to avoid them:
Overly Detailed Artwork
Pins are small physical objects. Extremely intricate details will become unreadable or lost during stamping. Aim for readable simplicity.
Too Many Colors
Using 15+ colors from your AI image is a common error. Consolidate similar tones and aim for a clear, simplified palette of 4–8 colors.
No Clear Metal Lines
Without defined metal dividers, enamel colors have no container. Every color area must be enclosed by metal outlines.
Tiny or Thin Text
Small text becomes illegible on pins. Use bold, clear fonts and avoid text smaller than about 4pt at the intended pin size.
Ignoring Pin Scale
A design may look great at screen size but fail at 25mm. Always review your design scaled to the actual intended pin dimensions.
Keeping Gradients
Submitting artwork with gradients is one of the most common mistakes. All gradients must be converted to flat solid color fills before production.
Submitting Raster Files
Sending a PNG or JPG directly from your AI tool is not enough. Always convert to vector artwork (.AI or .EPS) before submitting for production.
Thin Isolated Lines
Very thin decorative lines that aren’t connected to the main structure may break during metal stamping. All lines should be at least 0.3mm wide.
How CreatePins Helps Turn AI Designs into Real Pins
Many creators now bring AI-generated concepts directly to CreatePins.com — at all stages of the design process. Whether you have a polished vector file or just a rough AI image, their team can help bridge the gap between digital concept and physical product.
Design Assistance Services
The CreatePins team can transform AI artwork into fully manufacturable enamel pin designs by:
- Cleaning up and simplifying complex AI-generated artwork
- Converting raster PNG/JPG files into production-ready vector artwork
- Simplifying color areas and consolidating the palette
- Adjusting line thickness to meet manufacturing minimums
- Removing or adapting details that won’t translate to enamel
- Creating accurate digital production proofs for client review
- Advising on pin type, size, plating, and backing options
- Ensuring the final design remains faithful to the original AI concept
Pricing Transparency
CreatePins offers transparent pricing with no hidden fees. The main cost components for a custom pin order typically include:
- Mold/tooling fee — a one-time fee to create the metal stamp for your design
- Per-unit cost — varies by quantity, pin size, number of colors, and pin type
- Optional add-ons — custom backing cards, individual poly bags, screen printing, specialty enamel
- Shipping — depends on destination and delivery timeline
Frequently Asked Questions
Ready to Turn Your AI Art into Real Enamel Pins?
Have an AI-generated design you want to bring to life? The team at CreatePins.com will help convert your artwork into a production-ready enamel pin and guide you through every step of the process — from design to delivery.
References & Further Reading
- Midjourney — AI Art Generation Platform
- DALL·E 3 by OpenAI — Text-to-Image Generation
- Stability AI — Stable Diffusion
- Adobe Firefly — AI Image Generation
- Adobe Illustrator — Vector Design Software
- Inkscape — Free Open-Source Vector Editor
- CorelDRAW — Vector Graphics Software
- Pantone Color System — Color Standards for Manufacturing
- CreatePins — Best Online Tools for Enamel Pin Design Mockups
- CreatePins Community — Maker Resources & Tools
- CreatePins — Custom Enamel Pin Design Guide: How to Create Manufacturable & High-Quality Pins (2026)
- CreatePins — Technical Tips for Enamel Pin Design & Production (Beginner Guide)
- CreatePins — Design Simplification for Enamel Pins: Why It Matters & Beginner Tips
- CreatePins — Common Artwork Issues That Delay Enamel Pin Production
- CreatePins — Best File Formats for Custom Enamel Pins (AI vs PSD vs PNG)
- CreatePins — The Biggest Design Mistakes That Ruin Enamel Pins (And How to Avoid Them)