Custom Car Emblems: Complete Design & Manufacturing Guide
Everything you need to create durable, stunning custom car emblems — from design specs and materials to production methods, costs, and pro tips. Brought to you by CreatePins.
Why Custom Car Emblems Matter
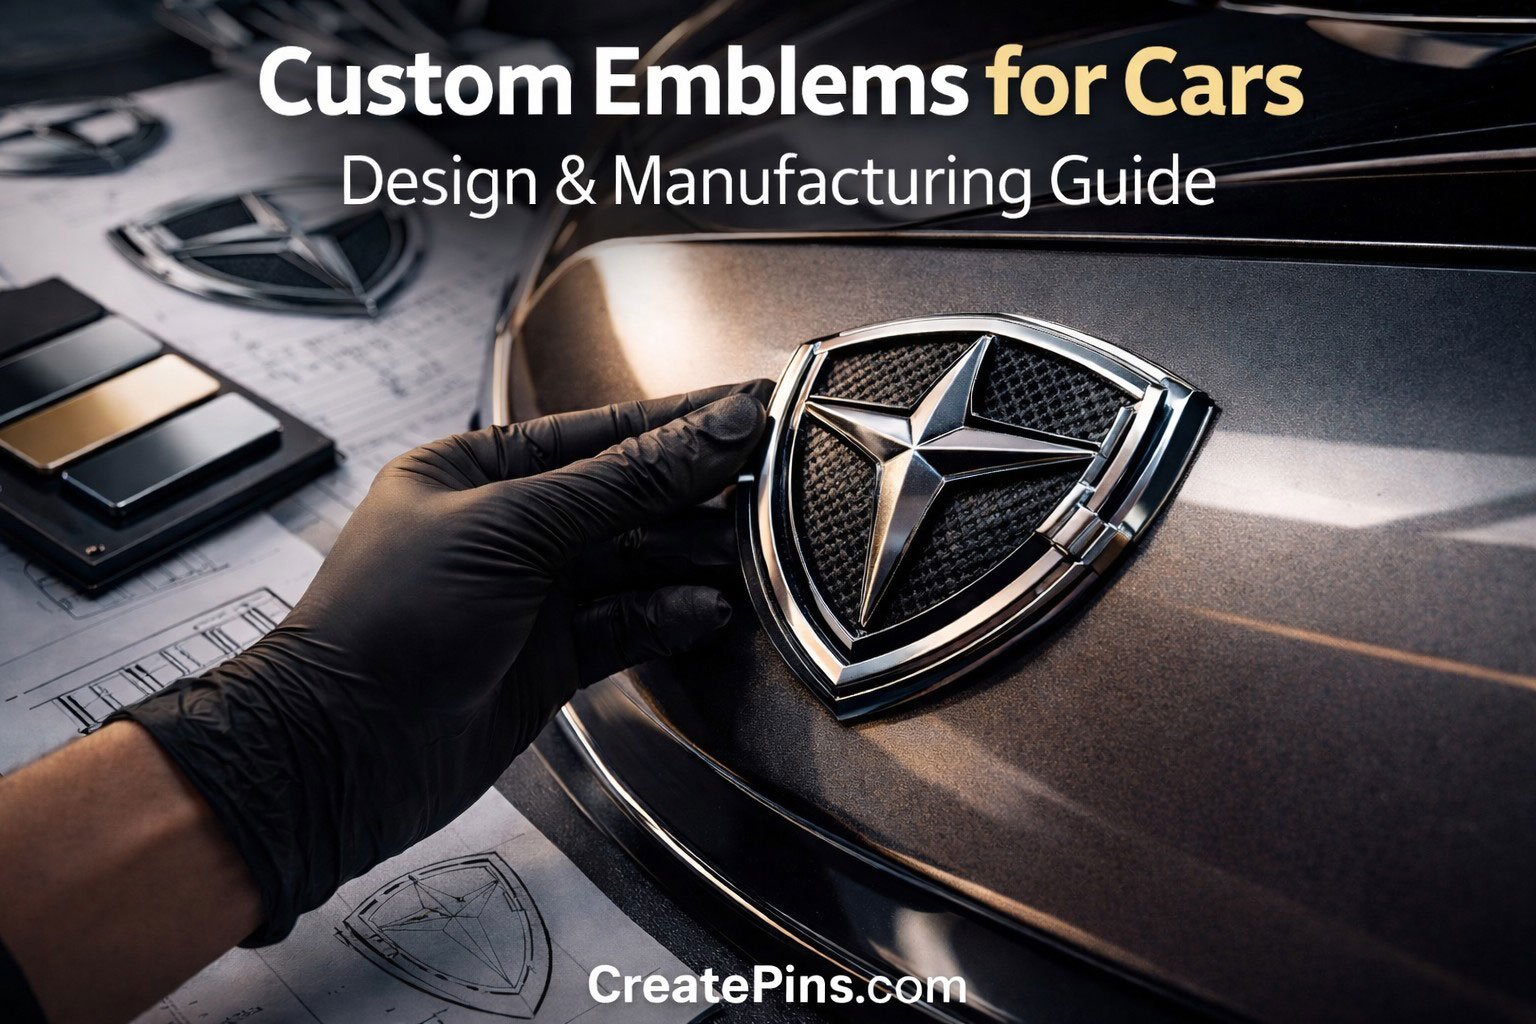
Custom car emblems are far more than decorative badges. They serve as powerful visual identifiers that communicate brand identity, club affiliation, or personal style. Whether you’re an automaker, a car club, or an enthusiast, a well-crafted emblem elevates your vehicle’s presence, builds pride, and creates instant recognition. Unlike generic stickers, premium emblems withstand weather, UV, and road debris while adding lasting value.
From luxury marques to tuner shops, emblems reinforce brand heritage. For car clubs, custom badges foster unity and membership pride.
Designing Your Emblem: Shapes, Colors & Audience
Know your audience — enthusiasts love bold, heritage-inspired designs; corporate clients prefer clean, sophisticated logos. Shapes: shields convey tradition, circles feel inclusive, angular shapes suggest innovation. Colors carry psychological weight: red = energy, blue = trust, black = premium. Always use Pantone Solid Coated for manufacturing accuracy. Avoid gradients in enamel areas (use screen printing only for photo‑real details).
✏️ Pro tip: Keep your design scalable. An emblem viewed from 10 feet away needs bold outlines and high contrast. Simplify intricate details — less is more.
Materials & Finishes: Metal, Plastic, Resin
🥇 Zinc Alloy / Metal
Pros: Premium feel, high durability, excellent detail retention, corrosion-resistant with plating. Cons: Higher cost, heavier. Best for flagship emblems.
🧴 ABS Plastic
Pros: Lightweight, low cost, ideal for large volumes, can be chrome-plated. Cons: Less premium, UV degradation over time. Best for budget or interior use.
💎 Resin / Acrylic
Pros: Unlimited color & shape flexibility, glossy dome finish. Cons: Lower heat resistance, scratches easier. Great for custom art pieces.
⚙️ Stainless Steel
Pros: Ultimate weather resistance, modern brushed look. Cons: Expensive, harder to achieve fine detail. Perfect for marine or extreme climates.
Popular Finishes
| Finish | Appearance | Best Use Case |
|---|---|---|
| Chrome | Mirror-like, classic | OEM-style, high visibility |
| Matte Black | Modern, stealthy | Sports cars, custom builds |
| Brushed Metal | Satin, refined | Luxury branding |
| Gold / Nickel | Warm, premium | Heritage, exclusive editions |
| Painted / Enamel | Vibrant color fills | Logos with multiple colors |
Manufacturing Methods Compared
| Method | Best For | Pros | Cons |
|---|---|---|---|
| Die Casting | 3D metal emblems, complex shapes | Durable, high-end, sharp detail | Higher mold cost ($200–$600) |
| Stamping | Flat or shallow-relief emblems | Cost-effective for large runs | Limited depth |
| Injection Molding | Plastic emblems, high volume | Fast, cheap per unit | Less premium, tooling expensive |
| CNC Machining | One-off or low-volume custom | Precision, no mold fees | Slow, higher per-piece cost |
| 3D Printing | Prototypes, short runs | No tooling, quick turnaround | Lower durability, visible layer lines |
Mounting & Installation: Get It Right
Secure attachment is critical for safety and longevity. 3M automotive-grade adhesive tape works for most metal/plastic emblems (clean surface, apply heat for bond). Pin with clips requires small drilled holes, offers mechanical lock. Screw mounting (studs + nuts) is strongest for heavy badges, but permanent. For exterior use, always specify UV-resistant adhesive or stainless hardware.
Cost Breakdown & Indicative Pricing
Factors: size, material, quantity, color count, plating, mold fee. Typical mold fees: $80–$400 (one-time). Per-unit prices drop sharply with volume.
| Quantity | Metal Emblem (3″, zinc alloy) | Plastic Emblem (ABS chrome) |
|---|---|---|
| 100 pcs | $5.50 – $8.50 ea | $2.20 – $3.50 ea |
| 200 pcs | $3.80 – $5.80 ea | $1.60 – $2.40 ea |
| 500 pcs | $2.50 – $4.00 ea | $1.10 – $1.70 ea |
| 1000 pcs | $1.80 – $2.90 ea | $0.80 – $1.20 ea |
Combine colors (≤4 reduces setup), choose standard plating, order 200+ units to amortize mold cost. Hard enamel or multi-color painting adds 15–25%.
Technical Specifications & Minimum Requirements
| Feature | Minimum | Recommended (Safe) |
|---|---|---|
| Raised metal line thickness | 0.5 mm | ≥ 0.8 mm |
| Recessed enamel/color area width | 0.4 mm | ≥ 0.6 mm |
| Spacing between colors | 0.4 mm | ≥ 0.7 mm |
| Text size (sans-serif) | 6 pt | ≥ 8 pt |
| Fragile connection width | 2.0 mm | ≥ 2.5 mm |
Step‑by‑Step Manufacturing Process
Mold & Die Creation
Your vector artwork is converted into a hardened steel mold. This one-time tool defines every raised and recessed detail.
Metal Forming / Casting
Molten zinc alloy is injected (die casting) or metal sheet stamped, creating the raw emblem blank.
Plating & Finishing
Electroplating adds chrome, nickel, or matte coating. Then enamel/paint is hand-filled into recesses and baked.
Polishing & QC
Hard enamel versions are polished flat. Final inspection ensures adhesion, color accuracy, and no defects.
Common Pitfalls & How to Avoid Them
Thin lines & tiny text
Lines under 0.5 mm may break during stamping. Solution: always design above minimums and request a digital proof.
Poor weather resistance
Cheap adhesives fail under heat/rain. Use automotive-grade 3M tape and specify UV-stable plating.
No prototype
Skipping a physical sample leads to costly surprises. Always order a pre‑production sample for large runs.
IP infringement
Copying existing logos can trigger lawsuits. Do trademark search before manufacturing.
Showcasing Your Custom Emblems
Placement: Grille, trunk lid, fenders, or steering wheel center. Car shows & events: display vehicles with emblems, hand out branded brochures. Social media: post close‑up videos and before/after installs, use hashtags #customemblems #carbranding. Encourage satisfied customers to share photos — word‑of‑mouth drives club and business orders.
Beginner Design Tips
- ✍️ Start simple: 2–4 colors, bold outlines, avoid gradients.
- 📏 Test at real size: print your design at 1:1 scale and view from 5 feet.
- 🎨 Use metal as part of the design: plating lines can be borders or highlight shapes.
- 🔒 Convert all fonts to outlines before sending files.
- 🧪 Request a sample — even for small batches, it avoids rework.
🎯 Recommended beginner setup
File & Software Requirements
| Requirement | Specification |
|---|---|
| Software | Adobe Illustrator, Inkscape, CorelDRAW (vector only) |
| File types | AI, EPS, SVG, PDF (vector) |
| Color system | Pantone Solid Coated (PMS), label each color |
| Scale | 1:1 final size (or clearly note magnification) |
| Layers | Separate: Die-Line, Color-Fill, Cut-Outline |
| Text | Converted to outlines |
Production-Ready Checklist
Ready to Bring Your Emblem to Life?
Get a free design review & quote from CreatePins — our experts check manufacturability, suggest cost-saving tweaks, and deliver show-quality emblems.
Request Free Quote →Mold & production lead times: 15–25 days
Frequently Asked Questions
Custom car emblems are personalized metal or plastic badges that represent a brand, club, or individual style. They’re attached to vehicles using adhesives, pins, or screws.
Stainless steel and zinc alloy with chrome plating offer the best weather resistance. For plastic, choose UV-stabilized ABS.
Typical lead times: mold creation 7–10 days + production 7–12 days. Physical samples add 5–7 days. Total 3–4 weeks.
No. Manufacturers require vector files (AI, EPS, PDF) to create the steel mold. Raster images pixelate and lack path data.
Highly recommended for orders over 200 units or complex designs. It verifies color, thickness, and adhesion.
📖 References & Further Reading (CreatePins Blog)
Deepen your knowledge with these expert guides from CreatePins — many principles apply directly to car emblem manufacturing:
- Hard Enamel vs Soft Enamel Pins: The Ultimate Guide (2026) – crucial for choosing the right finish.
- The Beginner’s Guide to Enamel Pin Plating Colors – plating insights for car emblems.
- How to Choose the Perfect Size & Thickness for Your Enamel Pin Design – size recommendations for badges.
- Best File Formats for Custom Enamel Pins (AI vs PSD vs PNG) – essential for preparing artwork.
- Common Enamel Pin Defects & How CreatePins Prevent Them – avoid defects in your emblem project.
- Complete Enamel Pin Design Guide (2026) – foundational design principles.
- How to Choose the Right Enamel Pin Backings – Complete Guide – applies to emblem mounting hardware.
- Custom Emblem Pricing Guide 2026 – Here’s everything you need to budget confidently and avoid surprises.
- Custom Enamel Pin Production Timeline Explained – understand lead times.
For more custom products, visit the Raoin.com.