7 Costly Enamel Pin Mistakes & Pin Design Errors to Avoid – Plus Production Tips & Fixes
Custom enamel pins may look simple — but small enamel pin mistakes in the ordering process can lead to wasted money and disappointing results. From pin design errors and pin color mistakes to pin backing mistakes, here are the most common issues and expert enamel pin production tips to get your pins right the first time.
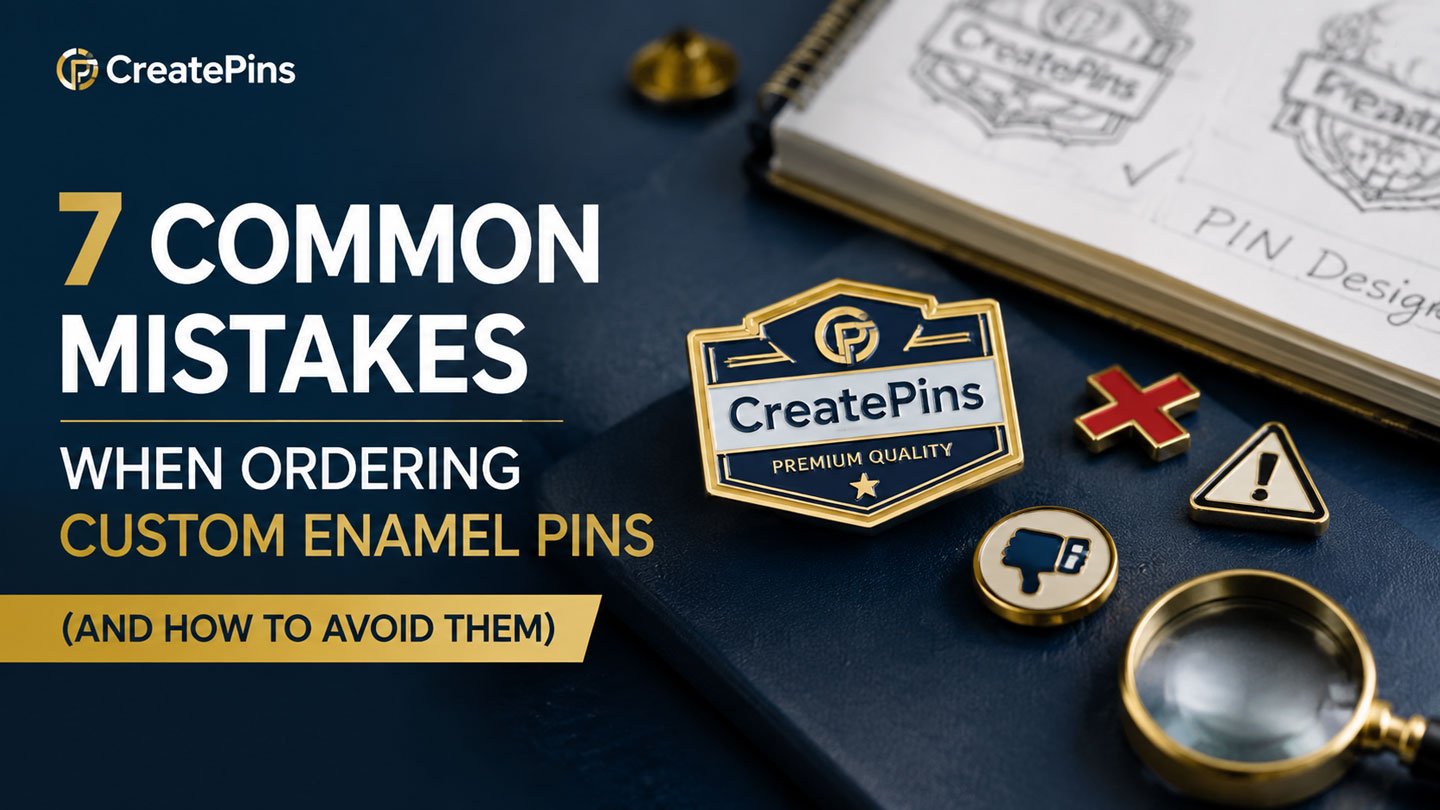
Ordering custom enamel pins is part art, part manufacturing. The difference between a best-seller and a costly enamel pin mistake often comes down to preparation and attention to detail — not the design itself.
These 7 common pin design errors come up repeatedly with first-time and experienced pin creators alike. Understanding them upfront — and applying the right enamel pin production tips — can save you hundreds of dollars, weeks of delays, and the frustration of receiving pins you can’t sell or are embarrassed to hand out. We’ll also cover pin color mistakes and pin backing mistakes specifically, so you can avoid the most frustrating issues.
1 Ignoring Design Limitations – A Classic Pin Design Error
One of the most common — and most costly — enamel pin mistakes is submitting a design without understanding how enamel pin production actually works. What looks crisp and detailed on a screen can become blurry, bleed-prone, or structurally fragile once it’s cut into steel and filled with enamel by hand.
- Lines thinner than 0.2mm that break or disappear in the mold
- Text too small to read at actual pin size
- Overly intricate details that require expensive print upgrades
- Gradient colors that can’t be replicated in enamel
- Adjacent colors with no metal dividing line between them
- Keep line thickness at least 0.2–0.3mm (0.5mm for hard enamel)
- Test your design at actual print size before submitting
- Simplify intricate artwork — bold beats detailed at pin scale
- Replace gradients with flat solid colors or halftones
- Ensure all color areas are separated by a raised metal line
Fine details may require expensive upgrades — such as screen printing instead of enamel fill — to reproduce properly. In the worst case, they simply disappear or become indistinguishable at pin scale, making the design look unintentional.
Always request a production-ready proof from your manufacturer before approving the mold. A good supplier will flag any design elements that won’t translate well and suggest alternatives before you commit to production.
2 Choosing the Wrong Pin Type – An Overlooked Enamel Pin Production Tip
Soft enamel and hard enamel are the two primary pin types — and choosing the wrong one for your brand or audience is a costly enamel pin mistake that’s difficult to correct after production. Each has distinct visual properties, production requirements, and price points.
Textured, tactile surface
- Lower production cost
- Raised metal lines sit above enamel fill
- Vibrant, punchy color reproduction
- Faster production time
- Best for: merch, events, large orders, collectibles
Smooth, polished flat surface
- Higher production cost
- Enamel polished level with metal lines
- Jewelry-like premium appearance
- More durable and scratch-resistant
- Best for: luxury brands, corporate gifts, premium collections
Choosing hard enamel for a mass-merch drop wastes budget. Choosing soft enamel for a premium gift product undercuts your brand positioning. Either mismatch results in a product that doesn’t serve its purpose — and a significant cost that can’t be undone after production.
If you want the premium look of hard enamel without the premium price, choose soft enamel + epoxy coating. The dome epoxy layer gives a smooth, glossy surface that closely mimics hard enamel at a meaningfully lower per-unit cost.
Not sure which pin type is right for your project? Get expert guidance and a free quote from our team.
Get a Free Quote →3 Underestimating Size and Scale – A Common Pin Design Error
This pin design error catches even experienced designers off guard. A design that looks beautifully detailed at 100% zoom on a 27-inch monitor can become an indistinguishable blob at 1.25 inches in physical form. Conversely, choosing an unnecessarily large size inflates both production cost and shipping weight without adding proportional visual value.
- Pin too small — fine details unreadable, text illegible
- Pin too large — unnecessary material cost, heavier shipping, harder to wear
- Not testing design at actual print size before ordering
- Not considering how the pin looks on fabric or a bag strap
- Standard range: 1–1.5 inches for most pin designs
- Print your design at actual size and pin it to your shirt or jacket
- Check readability of all text at actual size
- Consider viewing distance — pins are read from 1–3 feet away
1–1.5 inches is the sweet spot for the vast majority of pin designs. It’s large enough for meaningful detail, small enough for comfortable daily wear, and keeps material and mold costs at their most manageable. Only go larger if your design genuinely demands it.
4 Poor Color Planning – Costly Pin Color Mistakes to Avoid
Pin color mistakes are one of the most emotionally frustrating outcomes of a pin order — especially when you’ve carefully crafted a brand-specific color palette. The issue is fundamental: digital screens display color using light (RGB), while physical enamel is pigment-based. Without a color bridge between the two, mismatches are almost inevitable.
- Not specifying Pantone (PMS) color codes — leaving the manufacturer to guess
- Using too many colors, inflating cost without proportional visual gain
- Poor contrast between adjacent color areas
- Using RGB or HEX values without a Pantone conversion
- Assuming “same as last time” ensures consistent color across batches
- Provide Pantone Matching System (PMS) codes for every color
- Limit your palette to 3–6 colors for the best cost and visual impact
- Ensure strong contrast between colors that share a border
- Request a color confirmation proof before approving production
- Keep a record of your approved PMS codes for consistent reorders
Color mismatches can ruin your design — and fixing them after production means a partial or complete reorder at full cost. Preventing this issue costs nothing but a few extra minutes of preparation before you submit your artwork.
Even with correct Pantone codes, enamel colors can vary slightly between batches due to differences in pigment mixing and firing temperature. For brand-critical color accuracy, always request a physical color confirmation sample before approving a large run.
5 Forgetting About Plating Options – Another Pin Design Error
The metal finish that frames your enamel colors is just as important as the colors themselves. The wrong plating can clash with your palette, cheapen the appearance of a premium design, or simply feel off-brand. Many creators accept the default plating without considering how it will interact with their specific color choices — another common pin design error.
- Using gold plating with cool or dark color palettes — creates a visual clash
- Using silver with warm or earthy tones — feels disconnected
- Choosing antique finish without considering how it will age the design
- Ordering dual plating without a mockup — expensive to redo
- Match plating to your color temperature: warm colors → gold; cool/neutral → silver or black nickel
- Always review mockups with your chosen plating before finalizing
- Black nickel is a versatile, premium-looking choice at standard pricing
- Confirm plating choice in writing with your manufacturer before mold creation
Black nickel has become the go-to “safe premium” plating choice for many creators. It pairs well with almost any color palette, looks high-end without extra cost, and photographs exceptionally well — all at standard plating pricing.
Unsure which plating, size, or enamel type is right for your design? Our team reviews your artwork and recommends the best options — for free.
Get Free Design Advice →6 Overlooking Backing and Packaging – Pin Backing Mistakes That Hurt Your Brand
Most creators obsess over their pin’s front design and completely forget that the backing hardware and packaging are equally part of the product experience. Pin backing mistakes can leave a lasting negative impression on your customers. A beautiful pin paired with a cheap clutch and no packaging sends mixed signals — and reduces the perceived value of your entire brand.
- Using standard butterfly clutch for a premium-priced pin
- No branded backing card — the pin arrives loose with no context
- Pins shipped in bulk without individual protective packaging
- Forgetting to include a back stamp with your brand or social handle
- Packaging that doesn’t match the unboxing experience of the brand
- Match backing hardware to your price point and audience
- Add custom backing cards with your logo, social links, and design story
- Package pins individually in protective poly bags or foam
- Add a back stamp with your brand name or website
- Consider the full unboxing experience — from outer packaging to the pin reveal
Poor presentation reduces perceived value — and in competitive markets like Etsy or conventions, presentation is often what separates a best-seller from a pin that sits unsold on a display board. Custom backing cards are one of the lowest-cost, highest-impact investments you can make in your product presentation.
✅ A pin with a custom backing card, individual poly bag, and a rubber clutch backing feels meaningfully more premium than the identical pin without these elements — even at the same production quality. Packaging is part of your brand story.
7 Not Ordering Samples or Reviewing Proofs – The Biggest Enamel Pin Mistake
Skipping the sample or proof review stage is the costliest enamel pin mistake on this list — bar none. Once full production begins, changes are extremely difficult and often impossible without scrapping all in-progress inventory and starting over. The cost of fixing a problem after production is almost always far greater than the cost of preventing it beforehand.
- Approving a proof too quickly without checking every detail
- Missing a spelling error or color inaccuracy in the digital proof
- Skipping a physical sample for a large or complex order
- Not comparing the proof against your original artwork at actual size
- Assuming the manufacturer will catch every issue for you
- Review every digital proof with fresh eyes — check spelling, colors, proportions
- Print the proof at actual pin size and examine it in good lighting
- For orders of 500+ pins, always request a physical pre-production sample
- Compare your approved PMS codes against the proof before signing off
- Don’t rush — take the extra day if you need it. It’s worth it.
After you sign off on a digital proof or physical sample, production begins. At that point, the manufacturer has fulfilled their obligation to produce what was approved. Any errors you didn’t catch — spelling mistakes, color mismatches, misaligned elements — become your cost to fix, not theirs.
Take this step seriously. It’s the last chance to catch problems for free.
Create a personal proof review checklist and go through it every time — even for reorders. Check spelling, check Pantone colors against your reference, check alignment, check proportions at actual size. Systematic review catches things that casual glances miss.
Pre-Order Checklist: Get Your Pins Right the First Time
By avoiding these 7 enamel pin mistakes, you can save money, reduce production delays, and deliver a product your customers will love. Run through this checklist before every order — first-time and repeat alike.
- Design review: All lines at least 0.2–0.3mm thick, no tiny text, no gradients, all colors separated by metal lines.
- Pin type confirmed: Soft enamel for budget/merch; hard enamel for premium/corporate. Or soft + epoxy for the best of both.
- Size tested at actual print size: Printed and pinned to fabric — all details legible at arm’s length.
- Pantone codes specified: Every color in the design has a PMS code provided to the manufacturer.
- Plating choice reviewed with a mockup: Plating matches the color palette and brand identity.
- Backing hardware chosen: Matches the price point and customer expectations of the product.
- Backing cards and packaging planned: Custom backing card design ready; protective packaging specified.
- Digital proof reviewed thoroughly: Spelling, colors, proportions, and alignment all confirmed at actual size.
- Physical sample requested: For orders of 500+ pins or complex designs, a pre-production sample is approved before full run begins.
✅ Pro Tip: If you’re unsure about any step in the ordering process, work with a supplier that offers dedicated design support and pre-production guidance. A good partner catches issues before they become expensive problems — and that’s worth more than any per-pin price discount.
Ready to Create Your Next Pin — The Right Way?
Get a free quote, free design assistance, and expert pre-production guidance from CreatePins. Start with a clean design, plan your materials, and we’ll help you double-check everything before production begins.
Frequently Asked Questions
The most common enamel pin mistake is ignoring design limitations — specifically using lines that are too thin, text that is too small, or details that are too intricate for the enamel production process. Fine details get lost during manufacturing, and fixing them after mold creation is expensive. Always keep line thickness at least 0.2–0.3mm, simplify complex artwork, and request a production-ready proof before approving anything.
It depends on your brand positioning and budget. Soft enamel is more affordable, has a textured tactile surface, and works great for bold, vibrant designs and large orders. Hard enamel has a smooth polished surface and a premium jewel-like feel — ideal for luxury branding, corporate gifts, or collector-grade pins. A cost-effective middle ground: soft enamel with an epoxy dome coating gives a smooth surface at a significantly lower price than hard enamel.
Screen colors (RGB) and physical enamel colors are produced very differently. Without specifying Pantone (PMS) color codes, the manufacturer must interpret your colors from a screen reference — which almost always results in pin color mistakes. Always provide Pantone color codes for every color in your design. Also be aware that enamel batches can vary slightly between production runs, so keeping a record of your approved PMS codes is essential for consistent reorders.
The standard and most versatile size range is 1 to 1.5 inches. This is large enough to display meaningful detail, small enough to wear comfortably, and keeps material and mold costs at their most manageable. Always print your design at actual size before ordering — what looks detailed on screen can become unreadable at 1 inch in real life. Only go larger if your design genuinely demands it and the cost increase is justified by your retail price.
For larger orders (500+ pins) or complex, brand-critical designs, a physical pre-production sample is strongly recommended. Once full production begins, changes are extremely difficult and expensive — or impossible. A sample lets you verify colors, line quality, and overall finish before committing to the full run. For smaller or simpler reorders of a previously approved design, a thorough digital proof review may be sufficient.
The right plating depends on your design’s color palette and brand identity. Gold plating works best with warm color palettes; silver suits cool or neutral tones; black nickel pairs well with dark, bold, or high-contrast designs — and looks premium at standard pricing, making it an excellent default choice. Antique finishes add vintage character at moderate additional cost. Always review mockups with your chosen plating before finalizing the order.
Yes, significantly. The backing hardware is what customers interact with every time they use the pin — a flimsy or frustrating backing leaves a lasting negative impression. Butterfly clutch is the standard included option; rubber clutch is more comfortable for everyday wear at minimal added cost; deluxe locking backs are ideal for premium-priced or heavier pins. Avoid pin backing mistakes by choosing hardware that matches your price point and audience.
References & Further Reading
- Get a Free Custom Quote with Design Assistance – CreatePins
- Complete Enamel Pin Design Guide (2026)
- Technical Tips for Enamel Pin Design (Beginner Guide)
- The Biggest Enamel Pin Design Mistakes That Ruin Everything
- Common Enamel Pin Defects & How CreatePins Prevent Them
- Hard Enamel vs Soft Enamel Pins: The Ultimate Guide (2026)
- Epoxy Dome Pins – Complete Guide to Finishing, Design & When to Use It
- How to Choose the Perfect Size & Thickness for Your Enamel Pin Design
- How to Choose Enamel Pin Colors: A Complete Color Palette Guide
- Why Enamel Pin Colors Look Slightly Different From Your Screen Mockup
- Best File Formats for Custom Enamel Pins (AI vs PSD vs PNG)
- The Beginner’s Guide to Enamel Pin Plating Colors
- How to Choose the Right Enamel Pin Backings – Complete Guide
- Complete Enamel Pin Packaging Guide: Types, Costs & Best Practices
- Back Stamps & Sequential Numbering for Enamel Pins
- Essential Criteria for Grading Enamel Pins
- How to Order Enamel Pins (Step-by-Step Guide)
- Custom Enamel Pin Production Expectations & Tolerances